Part 1: Height level adjustment
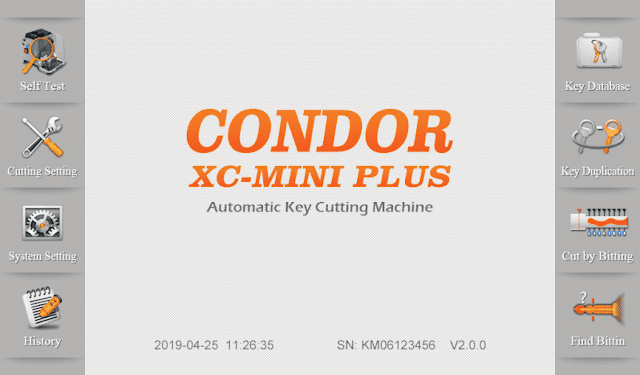
1. Enter the main interface and click on 'Self Test'.
2. Click on 'Height Level Adjustment '.
3. Adjust the height of the cutter and probe by following the tips on the screen, then click on 'Continue' to the step of adjustment.
4. After the machine stopped, please follow the screen tips, adjust the probe, let it at the same height with the cutter, then 'Continue'.
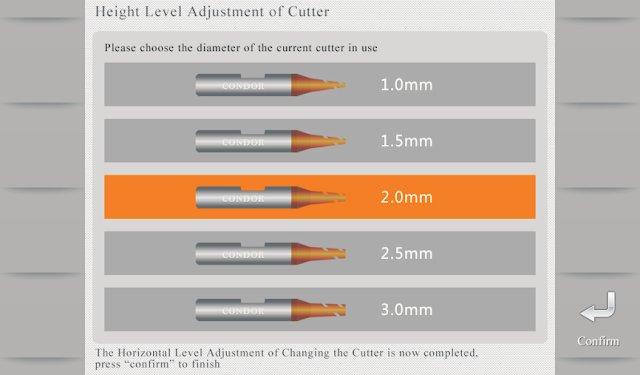
5. Select the correct diameter of the cutter and confirm it.
Part 2: Clamp calibration
1. Enter main interface and click on ' Self Test'.
2. Click on 'Clamp Calibration'.
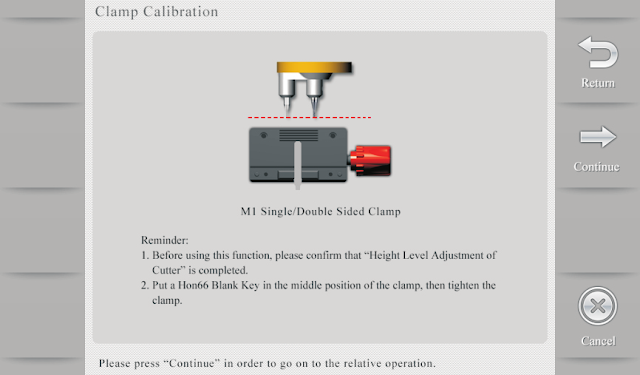
3. Select clamp M1 and proceed by following the tips on the screen.
4. Please put the HON66 key blank according to the screen, then tighten the clamp, click on'Continue', calibration finished.
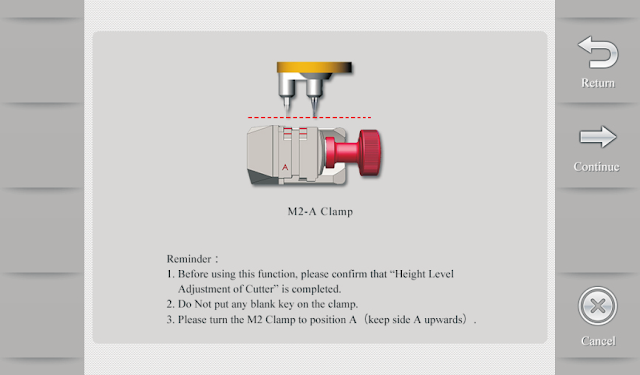
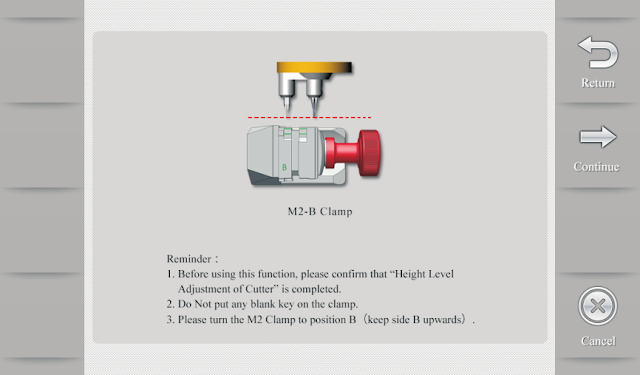
5. Enter clamp M2 calibration, rotate side A upward and do not put any keys on the clamp.
6. Follow the tips on the screen, rotate side B, C, D upward one by one to calibration
until M2 clamp calibration finished.
More Operation instructions please refer to http://www.obd2shop.co.uk/upload/pro/19082215664575917376.pdf




No comments:
Post a Comment